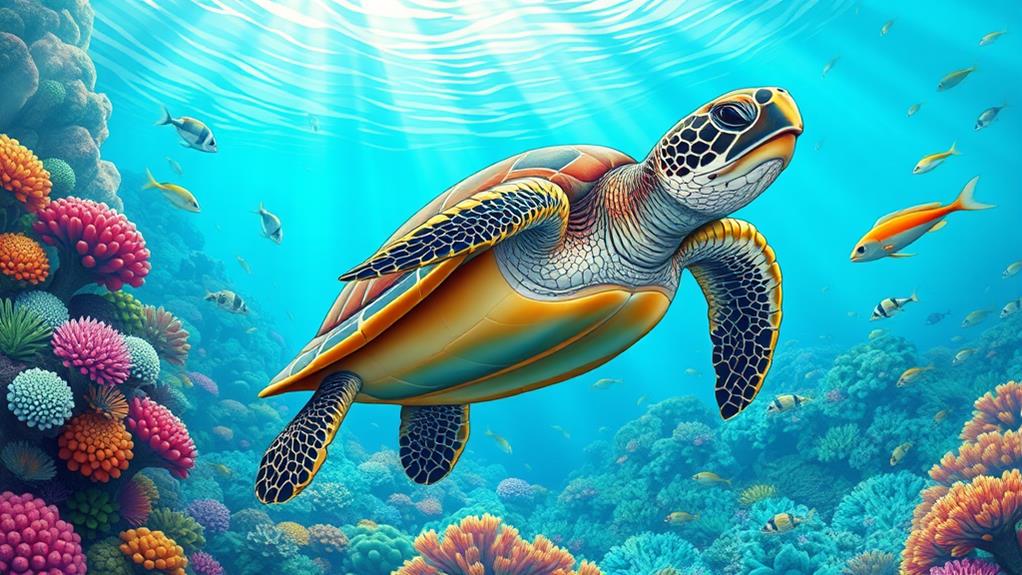
To create a stunning drawing of a sea turtle, start by gathering quality materials like heavy-weight paper and a variety of pencils. Begin with light outlines, using ovals for the shell and head to establish proportions. As you sketch, pay close attention to the turtle’s intricate shell patterns and colors—these are essential for realism. Use a blending tool for smooth transitions and rich colored pencils to bring depth. Finally, refine your artwork by adjusting hues and adding highlights. This approach will breathe life into your drawing, and soon you’ll discover even more tips to enhance your masterpiece.
Table of Contents
Understanding Sea Turtle Anatomy
To create an accurate drawing of a sea turtle, you need to dive deep into its anatomy. Start with the shell structure, which varies among species, forming a protective carapace that’s both beautiful and functional. Familiarize yourself with the distinct patterns and colors that reflect their adaptation to marine ecosystems. Understanding sea turtle biology is essential; these creatures aren’t just magnificent, but also vital to the health of our oceans.
Next, observe their feeding habits. Some species, like the green turtle, are herbivorous, while others, like the loggerhead, feast on crustaceans. Their unique mouth shapes are perfectly designed for their diets.
Pay attention to their nesting behaviors, as females return to the same sandy beaches to lay eggs, showcasing species diversity and the importance of habitat protection.
Incorporating your knowledge of conservation efforts is crucial. Illustrate the challenges they face, from climate change to habitat loss, and draw attention to the need for mindful stewardship.
Gathering Your Materials
Gathering the right materials is essential for bringing your sea turtle drawing to life. Start with quality drawing paper; a heavier weight will hold up to erasing and layering.
Next, consider your pencil selection. A range of pencils, from H for fine lines to B for darker shading, will give you flexibility in your work.
For the vibrant colors of the sea turtle, focus on your color palette. Watercolor pencils offer versatility, allowing you to blend and create depth effortlessly. If you prefer colored pencils, choose a set with rich greens, blues, and browns to accurately depict the turtle’s natural hues.
Additionally, invest in a good eraser—one that won’t smudge your work—and a blending tool, like a tortillon, for smooth transitions.
Consider having reference images at hand; they’ll guide you in achieving realistic details and textures.
Lastly, don’t forget about your creativity. Gather any additional materials, like pastels or markers, that inspire you. Material selection isn’t just about function; it’s about finding what resonates with your artistic vision.
With these tools in hand, you’re ready to embark on your sea turtle drawing journey.
Sketching the Outline
Begin by lightly sketching the basic shapes that form the sea turtle’s body, ensuring you capture its distinctive features. Start with a large oval for the shell and a smaller oval for the head. Use proportional measurements to maintain balance in your drawing.
Next, focus on the flippers. They should be wide and elongated, giving that fluid, dynamic pose typical of a swimming turtle. Keep these tips in mind as you sketch:
- Establish the Framework: Draw a light outline of the turtle’s body parts to create a solid base.
- Focus on Symmetry: Ensure both sides of the turtle are proportional, making adjustments as necessary.
- Positioning: Experiment with angles to depict movement. A slight tilt can convey a sense of action.
As you sketch, don’t press too hard; light lines will allow for easier adjustments. Remember, the outline serves as a guide for adding details later.
Capturing the essence of a sea turtle in its outline is vital, as it lays the foundation for a stunning final piece. So take your time and enjoy the process!
Adding Details and Texture
With your outline in place, it’s time to breathe life into the sea turtle by adding details and texture. Start by focusing on the shell patterns. Observe the unique shapes and colors that define a sea turtle’s shell. Use fine-tipped pencils or pens to carefully render the intricate designs. These patterns often feature a mix of geometric shapes, so take your time to replicate them accurately.
Next, incorporate color blending techniques to enhance the vibrancy of your drawing. Layer different shades of green, brown, and even hints of yellow to create depth. Gently blend these colors to mimic the natural gradients found in a sea turtle’s skin.
Don’t forget to add subtle highlights; this will give your turtle a three-dimensional appearance. As you work on the flippers and head, pay attention to the textures. Use short, delicate strokes to depict the roughness of the skin and the smoothness of the shell.
Finalizing Your Artwork
How do you know when your sea turtle drawing is truly complete? Finalizing your artwork is all about fine-tuning the details and ensuring your vision is fully realized. Here are three key steps to guide you:
- Evaluate Color Choices: Step back and look at your color choices. Do they evoke the ocean’s tranquility? If something feels off, consider adjusting hues or adding highlights for depth.
- Refine Composition Techniques: Assess the overall composition. Is your turtle centered? Are the surrounding elements harmonious? Use the rule of thirds to enhance visual interest and draw the eye to your focal point.
- Add Final Touches: Don’t overlook the small details! Whether it’s softening edges or adding a subtle sheen to the shell, these finishing touches can elevate your artwork.
Once you’ve completed these steps, take a moment to appreciate your work.
Frequently Asked Questions
What Types of Sea Turtles Can I Choose to Draw?
When choosing sea turtles to draw, consider the unique beauty of the Hawksbill, the majestic Leatherback, the vibrant Green, the robust Loggerhead, or the charming Olive Ridley. Each offers distinctive features and inspiring stories.
How Long Does It Take to Complete a Sea Turtle Drawing?
When you pick up your digital stylus, completing a sea turtle drawing usually takes a few hours. Effective time management and mastering various drawing techniques will enhance your artistic process, ensuring you create something truly captivating.
Can I Use Digital Tools for My Sea Turtle Drawing?
Absolutely, you can use digital tools for your sea turtle drawing! Explore digital drawing techniques to capture intricate sea turtle anatomy, enhancing your artwork’s detail and vibrancy, while serving others with your creative expression.
Where Can I Find Reference Images of Sea Turtles?
To find stunning sea turtle reference images, explore wildlife photography sites showcasing ocean conservation. Museums often archive beautiful photos, while social media platforms connect you with passionate photographers sharing their work for educational purposes.
What Common Mistakes Should I Avoid When Drawing Sea Turtles?
When drawing sea turtles, avoid neglecting anatomy details and overcomplicating color choices. Focus on realistic proportions and harmonious hues. Simplifying these elements enhances your artwork, making it more engaging and true to nature’s beauty.
Conclusion
As you step back to admire your masterpiece, the sea turtle seems to glide off the page, ready to swim through oceans of imagination. Each stroke of your pencil brings it to life, transforming mere paper into an underwater realm. You haven’t just created art; you’ve captured the essence of the sea, a vibrant world teeming with wonder. With every detail, you’ve forged a connection to nature that defies time, making your turtle an eternal guardian of the deep.